
By washingmachinerepairinnairobi.co.ke
Installing a dishwasher can seem like a daunting task, but with the right guidance, it can be a straightforward and rewarding process. A properly installed dishwasher not only enhances the functionality of your kitchen but also ensures efficiency and longevity. Whether you’re replacing an old unit or installing a new one, understanding the dishwasher installation process is crucial for a seamless setup.
At Washing Machine Repair Nairobi, we specialize in appliance installations, including dishwashers, and are here to guide you through every step. This article will walk you through the dishwasher installation process, from preparation to final testing, ensuring your appliance is ready to use safely and efficiently.
Step 1: Gather the Necessary Tools and Materials
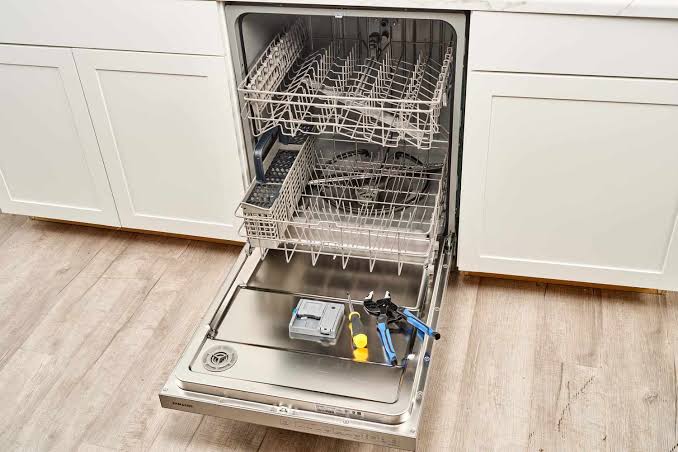
Before starting the dishwasher installation process, it’s essential to gather all the tools and materials you’ll need. Having everything on hand will make the process smoother and prevent delays. Here’s a list of what you’ll typically require:
- Screwdriver (Phillips and flathead)
- Adjustable wrench
- Pliers
- Level
- Tape measure
- Drill (if new plumbing or electrical connections are needed)
- Pipe wrench (for plumbing connections)
- Dishwasher installation kit (usually includes hoses, fittings, and clamps)
- Safety gloves and goggles
"Preparation is key to a successful dishwasher installation process. Having the right tools ensures you can complete the job efficiently and safely." — Washing Machine Repair Nairobi
Step 2: Prepare the Installation Space
The next step in the dishwasher installation process is preparing the space where the dishwasher will be installed. This involves ensuring the area is clean, level, and ready to accommodate the new appliance.
Key Actions:
- Remove the Old Dishwasher (if applicable): If you’re replacing an old dishwasher, disconnect it from the power supply, water line, and drain hose before carefully sliding it out. Ensure you turn off the water supply and power at the circuit breaker before beginning.
- Clean the Space: Remove any debris, grease, or residue from the area where the new dishwasher will sit.
- Check for Leveling: Use a level to ensure the floor and the surrounding cabinetry are even. An unlevel dishwasher can lead to improper drainage and operational issues.
- Measure the Space: Verify that the new dishwasher will fit in the allocated space. Standard dishwashers are typically 24 inches wide, but measurements can vary, so always double-check.
Step 3: Connect the Water Supply
A critical part of the dishwasher installation process is connecting the water supply. Most dishwashers require a hot water supply, which is typically connected under the sink.
Key Actions:
- Locate the Water Supply Line: The water supply line is usually found under the kitchen sink. If there isn’t an existing connection, you may need to install a new one.
- Install a Shutoff Valve: If your setup doesn’t already have one, install a shutoff valve under the sink to control the water flow to the dishwasher.
- Connect the Water Line: Attach the dishwasher’s water supply hose to the shutoff valve. Use a compression fitting or a brass elbow to ensure a secure connection. Tighten the connection with a wrench, but avoid over-tightening to prevent damage.
- Check for Leaks: Turn on the water supply and check for any leaks around the connection. If you notice dripping, tighten the fitting slightly or replace the washer inside the connection.
Step 4: Set Up the Drain Hose
Proper drainage is essential for the dishwasher installation process. The drain hose must be correctly connected to prevent water from backing up into the dishwasher or leaking onto the floor.
Key Actions:
- Locate the Drain Connection: The drain hose should connect to your sink’s drainpipe or garbage disposal. If your sink doesn’t have a dedicated dishwasher drain connection, you may need to install an air gap or a high-loop drain system.
- Install an Air Gap (if required): An air gap prevents wastewater from flowing back into the dishwasher. It is typically installed on the countertop or sink and connected to the drain hose.
- Connect the Drain Hose: Attach the dishwasher’s drain hose to the sink’s drainpipe or air gap. Secure the connection with a hose clamp to prevent it from coming loose.
- Create a High Loop: If an air gap isn’t used, create a high loop with the drain hose under the sink. This loop should be as high as possible (usually secured to the underside of the countertop) to prevent backflow.
"Proper drainage is crucial for the longevity of your dishwasher. A well-connected drain hose prevents backups and ensures smooth operation." — Washing Machine Repair Nairobi
Step 5: Position and Secure the Dishwasher
Now that the water and drain connections are in place, the next step in the dishwasher installation process is positioning the dishwasher in its designated space and securing it properly.
Key Actions:
- Slide the Dishwasher Into Place: Carefully slide the dishwasher into the prepared space under the counter. Ensure it aligns with the surrounding cabinetry and fits snugly.
- Level the Dishwasher: Use a level to check that the dishwasher is even from front to back and side to side. Most dishwashers have adjustable legs at the front that can be turned to raise or lower the appliance until it is level.
- Secure the Dishwasher: Once the dishwasher is level, secure it to the countertop or adjacent cabinets using mounting brackets or screws. This prevents the dishwasher from tipping forward when the door is opened.
Step 6: Connect the Power Supply
The final step in the dishwasher installation process is connecting the power supply. Dishwashers typically require a dedicated electrical circuit to handle their power needs safely.
Key Actions:
- Locate the Power Cord: Most dishwashers come with a power cord that needs to be connected to a power outlet under the sink or behind the appliance.
- Plug In the Dishwasher: Connect the power cord to the dedicated outlet. Ensure the outlet is grounded and meets the electrical requirements for the dishwasher (usually 120 volts, 15 or 20 amps).
- Test the Outlet: Before plugging in the dishwasher, test the outlet with a voltage tester to ensure it is working correctly.
- Hardwiring (if applicable): Some dishwashers require hardwiring directly into the home’s electrical system. If this is the case, it’s best to hire a licensed electrician to handle the connection.
Step 7: Test the Dishwasher
With all connections in place, the final step in the dishwasher installation process is testing the appliance to ensure it is working correctly.
Key Actions:
- Run a Test Cycle: Start a short wash cycle (such as a rinse cycle) to check for any issues. Monitor the dishwasher for proper water fill, drainage, and operation.
- Check for Leaks: Inspect all connections (water supply, drain hose, and electrical) for leaks or loose fittings. Tighten any connections if necessary.
- Verify Drainage: Ensure that water drains properly and there are no backups or unusual noises during the cycle.
- Confirm Leveling: Open and close the dishwasher door to ensure it operates smoothly. If the door doesn’t close properly, recheck the leveling of the appliance.
The dishwasher installation process doesn’t have to be complicated. By following these steps—gathering the right tools, preparing the space, connecting the water supply and drain hose, positioning the dishwasher, connecting the power, and testing the appliance—you can ensure a smooth and successful installation. However, if you’re unsure about any part of the process, especially electrical or plumbing connections, it’s always best to seek professional help.
At Washing Machine Repair Nairobi, we’re here to assist with all your appliance installation and repair needs. Contact us via washingmachinerepairinnairobi.co.ke for expert service and peace of mind.
"A properly installed dishwasher is the heart of a functional kitchen. Let us help you get it right the first time." — Washing Machine Repair Nairobi